10 Tips for Choosing Concrete Tubes?
Choosing concrete tubes is more than picking a cardboard cylinder from a supplier’s catalog. The tube must match the column diameter, pour height, concrete pressure, weather conditions, and removal plan. A small mistake can create bulging, spiraling, honeycombing, or a difficult stripping process.
Concrete-forming specialist David J. Roth once offered a useful reminder: “The form is temporary, but its influence on the finished concrete is permanent.” That principle deserves attention. A tube may look strong on a pallet, yet soften after rain or fail during a continuous pour. Site experience matters here. Measure the actual reinforcement cage, check the base condition, and confirm the manufacturer’s load guidance before ordering.
Not every project needs the thickest tube. That can waste money. However, choosing the cheapest option may create expensive repairs, especially around exposed columns or architectural surfaces. Consider spiral strength, moisture resistance, inner liner quality, cutting requirements, and safe handling. Also ask how the tube will be removed. Some projects require peel-away forms, while others favor standard tubes that remain stable until curing is complete.
This guide, “10 Tips for Choosing Concrete Tubes,” examines those decisions in practical detail. It also questions a common assumption: bigger is not always safer. The right choice depends on verified dimensions, placement speed, concrete consistency, and real site conditions. When those details are ignored, even an experienced crew can make an avoidable mistake.
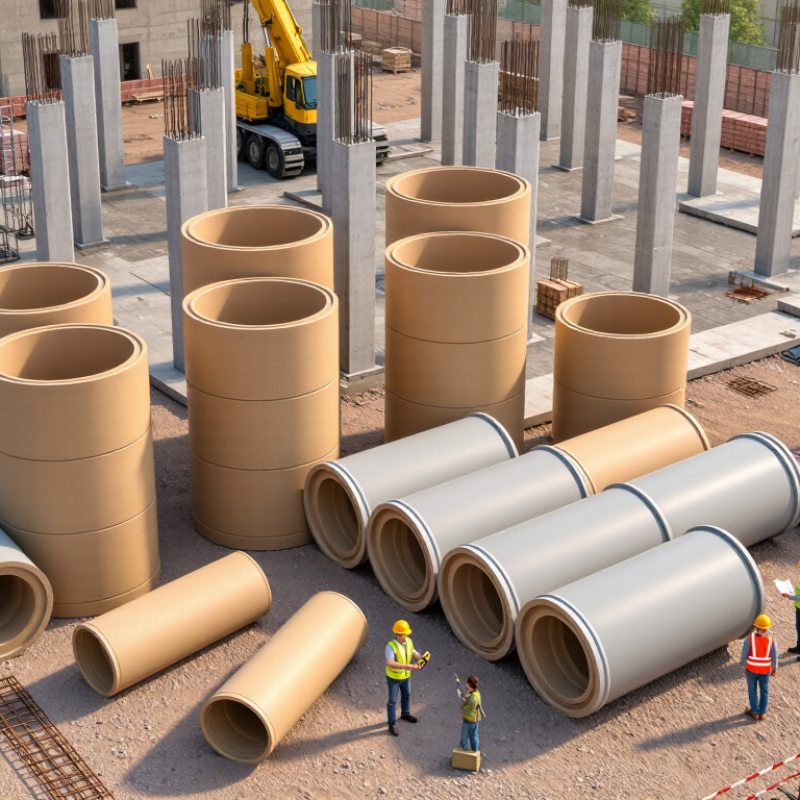
Concrete Tube Basics: Types, Uses, and Typical 3,000–7,000 psi Strength
Choosing a concrete tube begins with its job, not its appearance. Round fiber tubes suit footings and small piers, while square or reusable plastic forms help exposed columns. Steel forms handle repeated commercial work but require careful lifting and rust control. Check the diameter, height, wall stiffness, release method, storage conditions, and site access before ordering.
Concrete tube strength usually refers to the concrete inside, not the tube itself. Common mixes range from 3,000 to 7,000 psi in compressive strength. The actual result depends on the mix design, water content, placement, vibration, and curing. Strength is often verified after 28 days. A stronger mix is not automatically the best choice. It may cost more and still fail if the form moves.
Inspect each tube for crushing, moisture damage, splits, and an uneven base. Keep it vertical with braces, especially during the first pour. Confirm local drawings, soil conditions, dimensions, and reinforcement requirements with a qualified professional. A tube can be technically strong yet unsuitable for a wet or unstable site. I once underestimated how much a slightly oval form could affect alignment. That small error became visible after stripping. Allow extra working space around the tube, and keep concrete placement steady rather than dumping it from excessive height.
Compare Spiral-Wound and Corrugated Tubes by ASTM and ACI Requirements
10 Tips for Choosing Concrete Tubes
Choosing a concrete tube starts with the project specification, not the catalog photograph. ASTM C470 addresses molds for concrete test cylinders, while column formwork usually follows contract requirements and ACI 347 guidance. Do not treat one standard as universal. Confirm the required diameter, height, wall thickness, and tolerance before ordering.
A spiral-wound tube usually provides a smoother inner face and consistent roundness. A corrugated tube may create a fluted surface and can change the concrete’s visual character. The difference is visible after stripping.
Check how each tube responds to moisture, fresh-concrete pressure, vibration, and handling. ACI 347 emphasizes adequate formwork strength, stability, alignment, and bracing. On site, a wet tube can soften unexpectedly. Small mistakes become obvious near the base. Measure the tube’s actual inside diameter, not only its labeled size. Allow space for reinforcement, spacers, and required concrete cover under the structural design. Confirm that the tube will not buckle during placement or pump vibration.
Field experience also suggests checking the release method and stripping time early.
Some paper-based forms tear when removed too soon. Others bond to a rough surface when curing conditions are poor. Keep tubes dry, upright, and protected from impact.
Review ASTM references carefully, because a material test standard does not automatically certify a complete formwork system. I have seen drawings specify “corrugated” without defining flute depth or finish quality. That omission deserves a written clarification before concrete arrives.
Check Moisture Resistance, Reusability, and Jobsite Temperature Limits
Concrete tubes must survive more than fresh concrete pressure. Moisture can soften paper walls, distort the form, and stain the finished surface. Check the supplier’s water-absorption data, liner details, and storage instructions. ASTM D570 can help evaluate polymer liners, but it does not certify every paper tube. Keep tubes raised from wet ground. Cover them during rain.
Tip 1: Test moisture resistance on site. Place a small sample in standing water overnight. Measure swelling and wall stiffness the next morning. Tip 2: Ask how many pours the tube can support. Reusability depends on stripping technique, reinforcement, and edge damage. A reusable tube is not automatically economical. I learned this after one rough removal ruined an otherwise sound form.
Temperature limits deserve equal attention. ACI 306R-16 defines cold weather as three consecutive days with average temperatures below 4°C. ACI guidance then requires controlled concrete temperatures and protection during curing. ACI 301-20 generally limits concrete placement temperature to 35°C unless project documents allow otherwise. These limits concern concrete, but they also expose weak tube materials. Heat may accelerate drying and reduce dimensional stability.
Tip 3: Record morning and afternoon jobsite temperatures. Tip 4: Store tubes away from direct sun and heaters. Tip 5: Confirm the manufacturer’s minimum installation temperature. I would not rely on a single “all-weather” claim. Wind, humidity, and curing blankets can change actual performance. Check the project specification, then document every exception.
10 Tips for Choosing Concrete Tubes
Moisture resistance, reusability, and jobsite temperature are key factors when selecting a concrete forming tube. The chart shows commonly referenced minimum concrete placement temperatures for different member thicknesses in cold-weather work.
Selection Checklist
- Check the tube’s moisture resistance before exposure to rain, wet subgrade, or fresh concrete.
- Choose a diameter and length that match the structural design and required cover.
- Confirm the tube can resist concrete pressure without bulging or ovalizing.
- Review the manufacturer’s temperature limits for storage, installation, and placement.
- Protect paper-based forms from prolonged water exposure and standing moisture.
- Consider reusable plastic or metal forms when the project includes repeated pours.
- Verify that the form-release method will not stain or weaken the concrete surface.
- Inspect tubes for crushed edges, delamination, cracks, or dimensional changes before use.
- Brace and align the tube correctly to maintain plumb and prevent movement during placement.
- Coordinate placement, curing, and protection measures with the project specifications and local standards.
Temperature note: The chart uses commonly cited cold-weather concrete placement minimums by member thickness: 13°C for sections below 300 mm, 10°C for 300–900 mm, 7°C for 900–1,800 mm, and 4°C for sections over 1,800 mm. Always confirm the applicable project specification and governing concrete standard.
Select Tubes by Load Capacity, Concrete Pour Rate, and Project Budget
Choosing concrete tubes is not just a matter of diameter and appearance. Load capacity should match the wet concrete pressure, reinforcement weight, and expected handling stress. Taller pours create greater pressure near the base. Fast placement can increase that pressure sharply. Check the supplier’s technical data, then compare it with your engineer’s design requirements. Never rely on a tube that merely feels rigid.
Concrete pour rate also matters. A crew filling a 3-meter tube in minutes needs more support than a crew pouring slowly in controlled lifts. Temperature, mix consistency, vibration, and bracing can change performance on site. Leave enough room for safe placement and inspection. A small test section may reveal problems before the full pour. It is easy to underestimate this step.
Project budget includes more than the purchase price. Add delivery, cutting, storage, labor, bracing, waste, and possible replacement costs. A cheaper tube may require extra supports or slower work. That can erase the initial saving. I have seen estimates look accurate until labor was included. A perfect spreadsheet still misses field conditions. Compare the total installed cost, not just the tube price. Keep a modest contingency for damaged materials and unexpected delays. Safety and structural suitability should remain non-negotiable, even when the budget is tight.